Simple Wavy Backgrounds
Quilting Tips and Techniques • Educational, G, 01-Jan-2018
Wavy background for patchwork: why have straight lines when wavy would be better?
This isn’t curved piecing; just gently wavy lines that fit together like a dream. And form a much more interesting backdrop for your picture.
Click here to watch a preview of this premium video
Up Next in Quilting Tips and Techniques
-
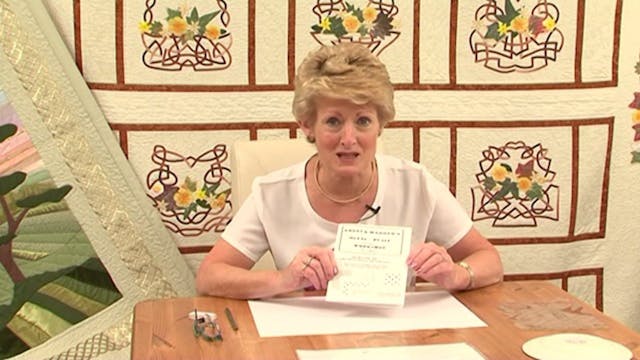
A Multi-Plait Workshop with Angela Ma...
What is a ‘Multi-Plait tool’?
The ‘Multi-Plait tool’ is Angela’s unique plastic template which creates many varied types of designs and comes complete with easy instructions. So it is really a ‘workshop in a bag.’
You can use the tool to draft different kinds of twisted or plaited (braided) desig... -
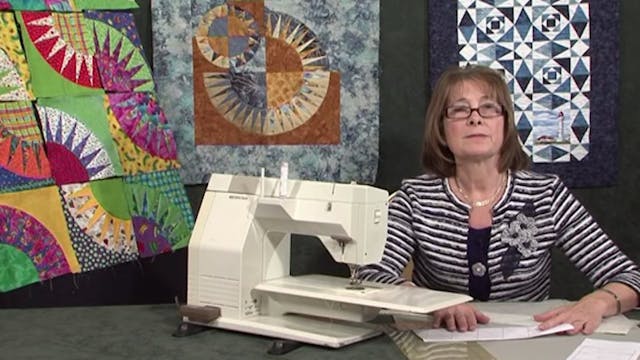
Foundation Piecing Technique with Val...
This technique is a sort of 'sewing by numbers'. It is also upside-down and back-to-front and, as the summary says, a really useful technique. It can be difficult to get to grips with unless you have seen it. So we do hope that this little video will do the trick.
We have added a couple of us...
-
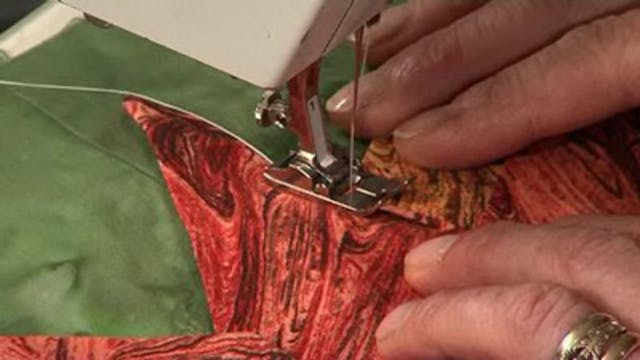
Fastening off Tip from Jennie Rayment
Idea of this video
A quick tip that will help you avoid all those loose thread ends.
More about Jennie Rayment
This skinnyish, red-haired, slightly wacky Brit really likes ‘Nipping and Tucking’ – fabric manipulation and surface texture. She’s unique in her field. And people from whole world know ...